
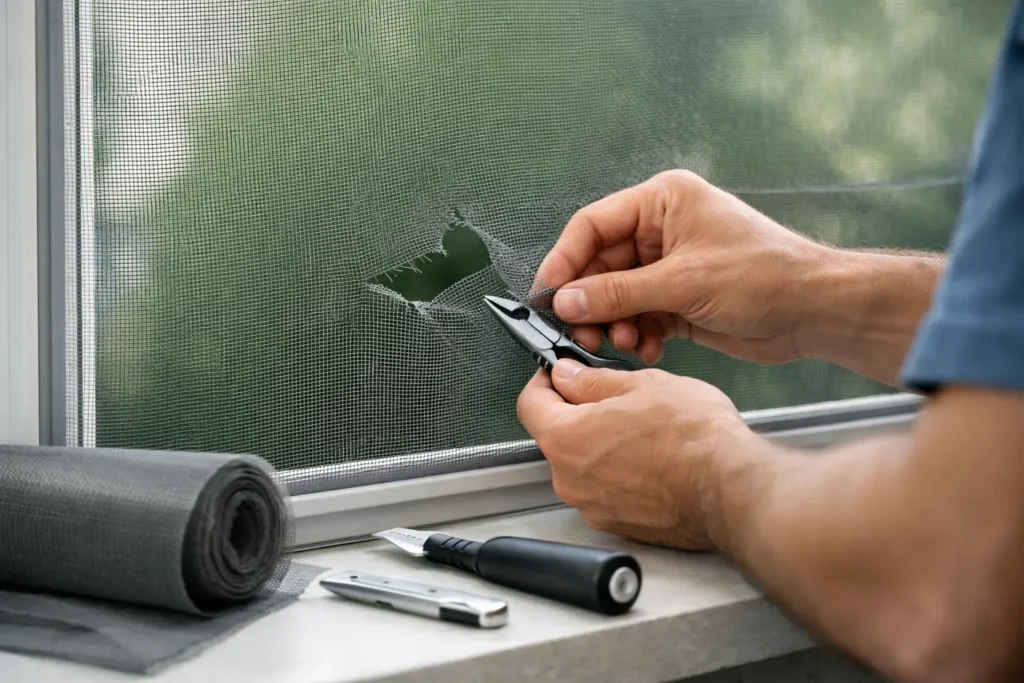
A small tear in a window screen can become a big nuisance fast in Southeast Florida. Mosquitoes, no-see-ums, lizards, and windblown debris only need a small opening to get through. Knowing how to repair torn window screens helps you decide whether a quick patch will do the job or whether the screen needs fresh mesh for a cleaner, longer-lasting result.
A good repair should restore more than appearance. The screen needs to sit flat, stay tight in the frame, keep pests outside, and allow your windows to operate normally. A loose patch or poorly installed mesh may solve the problem for a weekend, but Florida heat, humidity, rain, and regular use can quickly expose a weak repair.
How to Repair Torn Window Screens Based on the Damage
Start by looking at the size, location, and cause of the tear. A pinhole near the center of an otherwise tight screen is different from a long rip along the spline channel or a screen that has become brittle from sun exposure.
For a small hole, usually less than an inch wide, a screen repair patch can be a practical short-term fix. These patches are typically made from mesh with adhesive backing or a heat-activated edge. Clean the screen first, cut the patch so it extends at least one inch beyond the damage on every side, and press it firmly into place. If you use a heat-activated patch, follow the product directions carefully and use low, controlled heat. Too much heat can warp vinyl-coated mesh or damage the frame finish.
A patch is best for a small, isolated tear in a screen that is otherwise in good condition. It is less effective on screens that are faded, sagging, heavily stained, or torn in several places. It can also look noticeable from the outside, which matters on front-facing windows, patios, and screen enclosures.
When the tear is larger than a few inches, runs close to the edge, or has pulled the mesh out of the frame, replacing the entire screen mesh is usually the better repair. Full rescreening gives you a taut, even surface without overlapping material or weak spots around the original damage.
Decide Whether to Patch or Rescreen
The right choice depends on the condition of the whole screen, not only the hole. A patch saves time and money when the mesh is relatively new and the damage was caused by a one-time accident, such as a pet claw, moving furniture, or a branch brushing against the window.
Rescreening is the more durable option when the existing material feels dry, brittle, or loose. In South Florida, standard fiberglass mesh can break down after years of direct sun and moisture exposure. If one section has torn because the mesh is aging, another section may fail soon after. Replacing the mesh once is often more cost-effective than applying several patches over time.
You should also inspect the aluminum frame. Bent corners, cracked corner keys, corroded hardware, or a damaged spline channel can keep a new screen from staying tight. In those cases, a screen repair may involve rebuilding the frame or replacing the complete window screen assembly.
Tools and Materials for a Full Screen Repair
If you are rescreening a removable window screen, use materials sized for your specific frame and screen channel. Most homeowners need the following:
- Replacement screen mesh, such as fiberglass, aluminum, pet-resistant, solar, or no-see-um mesh
- New spline in the correct diameter for the frame channel
- A spline roller with both concave and convex ends
- Flathead screwdriver or pick for removing old spline
- Utility knife with a sharp blade
- Scissors, measuring tape, and work gloves
Mesh choice matters. Standard fiberglass mesh is affordable, flexible, and common for most residential windows. Aluminum mesh is stronger but can crease and dent more easily during installation. Pet-resistant mesh is thicker and more durable for homes where cats or dogs regularly press against screens. No-see-um mesh has a tighter weave that improves protection from small insects, though it may slightly reduce airflow and visibility. Solar mesh can reduce glare and heat, but it is not the right choice for every window because it changes the view and light entering the room.
Remove the Screen and Inspect the Frame
Most window screens are designed to lift or pull out from the exterior side, although the removal method varies by window style. Work slowly so you do not bend the aluminum frame or damage spring clips, pull tabs, or plunger pins.
Lay the screen flat on a clean work surface. Before removing the old mesh, check the frame for bowed rails, loose corners, sharp edges, and oxidation. Light dirt can be cleaned away with mild soap and water. If the frame has white corrosion, deep bends, or loose corners, new mesh alone may not solve the problem.
Look closely at the spline – the flexible cord that holds the mesh inside the frame groove. If it is dry, flattened, cracked, or stretched, replace it. Reusing old spline is one of the most common reasons a newly repaired screen becomes loose soon afterward.
Replace Torn Window Screen Mesh Step by Step
Use a small screwdriver or pick to lift one end of the old spline from a corner. Pull it out around the frame, then remove the damaged mesh. Clean debris from the spline channel before installing anything new.
Cut the new screen material so it overlaps every side of the frame by at least two inches. Do not cut it to its final size yet. The extra material gives you room to hold the mesh square while rolling it into place.
Place the mesh over the frame so the weave runs straight. On rectangular screens, align the strands parallel with the frame rails. Crooked mesh may still keep bugs out, but it looks unprofessional and can create uneven tension.
Start at one corner. Use the concave end of the spline roller to press the mesh lightly into the channel on one side. Then set the new spline over the mesh and use the roller to push it firmly into the groove. Continue down the first side, keeping steady pressure without stretching the mesh too tightly.
Move to the opposite side next. This is where patience matters. Pull the mesh gently flat, but do not yank it. Too much tension can bow the aluminum frame, especially on larger screens. Install the spline along the opposite side, then complete the remaining two sides.
Once the spline is fully seated, inspect the mesh before trimming. It should be flat and firm with no wrinkles, but it does not need to be drum-tight. If you see a ripple, remove the spline near that area and reset it before cutting the excess mesh.
Use a sharp utility knife to trim the extra material along the outside edge of the spline. Keep the blade angled away from the installed screen. A slip can cut the new mesh and force you to start over.
Common Screen Repair Mistakes to Avoid
The most frequent mistake is choosing the wrong spline diameter. Spline that is too thin will not hold the mesh securely. Spline that is too thick can be difficult to install and may distort the frame channel. When possible, take a short sample of the old spline to compare before buying new material.
Another common problem is installing mesh with too much tension. A screen should be smooth, not stretched like a trampoline. Over-tightening can bend the frame and make it difficult to reinstall in the window.
Avoid repairing a screen without addressing the reason it tore. If a window frame is rubbing against the screen, a pet is pushing through it, or landscaping repeatedly strikes the opening, the new material may fail again. A stronger mesh or a small adjustment to the surrounding window area can prevent repeat damage.
When to Call a Screen Repair Professional
A do-it-yourself repair makes sense for one standard, removable screen with a simple tear. Professional service is often the better choice for large screens, custom frames, window screens that are difficult to remove, or multiple damaged screens throughout the home.
It is also wise to get help when the issue involves a sliding screen door, screen enclosure, retractable screen, or motorized screen. These systems have more components than a basic window screen. Track alignment, rollers, handles, frame tension, and latching hardware may all affect how the screen operates and how long the repair lasts.
For homeowners in Southeast Florida, Protech Sliding Doors can inspect damaged screens and the related door or window components, then provide a clear recommendation and free estimate. Repairing a screen before a small tear grows can help keep your home more comfortable, cleaner, and better protected from insects without replacing more than necessary.
A properly repaired screen should disappear into the background: fresh air comes in, pests stay out, and the window looks cared for from both sides.